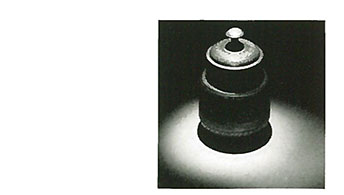
Product Description
Establishing the Basic Lighting
For most studio assignments, it is generally logical to establish the main light first, then the desirable highlights, and, finally, the necessary illumination. This method of working is arbitrary, of course, and depends somewhat on the nature of the subject to be photographed. Thus, a portrait photographer may first establish the main light, next the fill-in, and, lastly, the highlights; with large groups, interiors, and objects which are to be tented, the usual procedure is first to create a general high level of over-all illumination and then add a bit of directional lighting to give the subject better form. However, the (1) main light, (2) highlight, and (3) fill-light method for small-object photography is the suggested sequence because the exact effect of each light being used can be observed and controlled more easily.
THE MAIN LIGHT
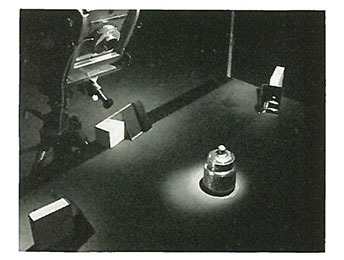
The customary general position of the main light — high and somewhat behind the subject — has been demonstrated on the preceding pages. The exact placement of this light is, of course, very important. If you have difficulty in locating the best position — one that seems to show the subject best — we suggest the “wand” technique. It operates very simply as follows: With the room darkened and your face as close as possible to the lens position, observe the effect of lighting the subject with a simple exploratory light. The light shown in the accompanying illustration consists of a small boom light which is used without its stand. The wand, as we call it, can be improvised easily by mounting a screw-base household light bulb in a conventional socket on the end of a long dowel or broom handle.
It is very important that you observe the of various light placements just as the camera will photograph it subsequently. If the camera is in your way, move it back and place your face exactly where the lens used to be. Or, as an alternate method, watch the image on the ground glass While an assistant moves the wand light over the subject until the best placement is found. Obviously, after you have located this best position, the actual main lighting unit is moved into that same position.
The questions now facing the photographer are: Should the main light be a flood lamp or a spotlight? Should the light be near or far? Of course, we can give only the general principles concerned in this table of characteristics:
| Type of Highlight | Type of Shadow | |
| Flood Lamps | Broad and diffuse | Indistinct edges with some shadow detail |
|
|
||
| Spotlights | Small and specular | Sharp edges with little shadow detail |
In addition, regardless of the type of lighting unit, the greater the light-to-subject distance, the smaller the highlights and the sharper the edges of the shadow Will be.
Although in portrait work, the main light is customarily a large, and often a diffused flood lamp, in small-object photography, the main light source is almost invariably a spotlight. Generally, a 500- or 750-watt spotlight Will be adequate for most small subjects. The choice will, of course, be tempered by the surface characteristics of the subject, as was seen to be necessary in the preceding illustration of balls with various surfaces. We repeat the principle: A matte-surface object generally requires an undiffused light source; a shiny-surface object, a diffused light source.
Obviously, no book can tell you the exact placement of the lights for a particular subject — this is something that will have to be determined by discriminating observation during manipulation of the lights in the studio.
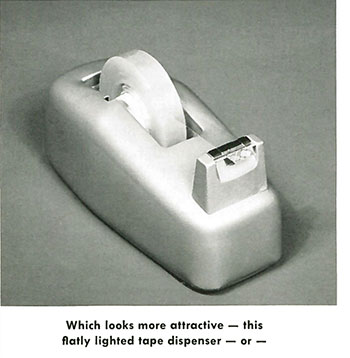
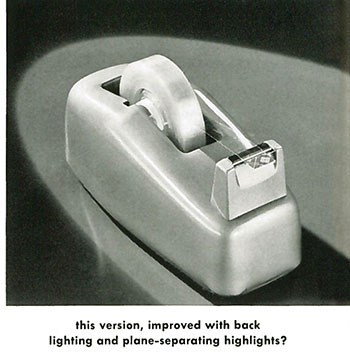
Highlight Placement
Actually, the main job of the highlights is twofold: The edge-light reflection variety helps to separate subject planes, as well as to differentiate between the subject and its surroundings and thus give it emphasis; the second variety of highlights might well be called “texture lights,” since their function is to delineate subject textures and thus give a clear impression of the subject’s surface.
The problem of positioning lights to create these desirable subject highlights can be even more painstaking than finding the main-light position itself. Usually, several small lights are needed to do an adequate job of highlighting, especially if the subject has a fairly complex shape.
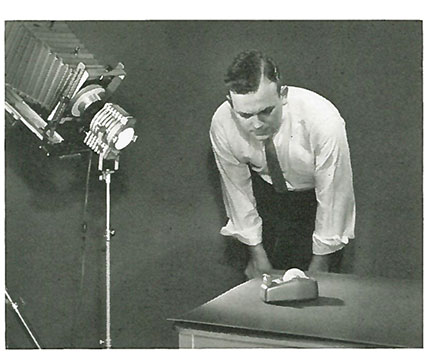
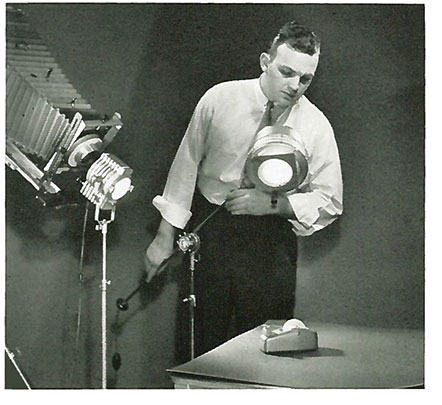
If you work Without an assistant, the thing not to do is to make endless trips between the camera and the lighting units, modifying their position slightly and then rechecking the exact on the ground glass. Rather, the location of all the highlighting units can be determined efficiently by applying the procedure illustrated on the opposite page. The familiar principle is, of course, that the angle of incidence equals the angle of reflection.
This principle is applied practically by placing a small spotlight exactly in front of the lens and aligning it so that its axis is the same as that of the lens.
The next step is to examine the subject carefully as you walk around the setup. Check the subject from all sides and from low, intermediate, and high vantage points. If, from a particular viewing position, you see a desirable highlight — perhaps in the form of improved surface texture, stop your inspection and position an actual lighting unit at precisely the spot where your face was when you saw the highlight. This light will recreate the same effect for the camera to photograph as you saw by means of the “inspection” light in front of the lens.
Of course, the search for additional highlights can continue with the placement of an actual set light each time a desirable is found. When the subject has been highlighted in this way, the small spotlight in front of the lens can be removed and the total effect achieved thus far should be checked on the ground glass. As might be expected, some modification of the highlights probably will be necessary from the standpoint of intensity or character, but not placement.


Fill-in-Light
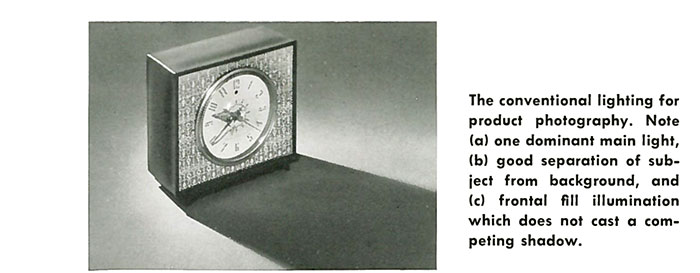
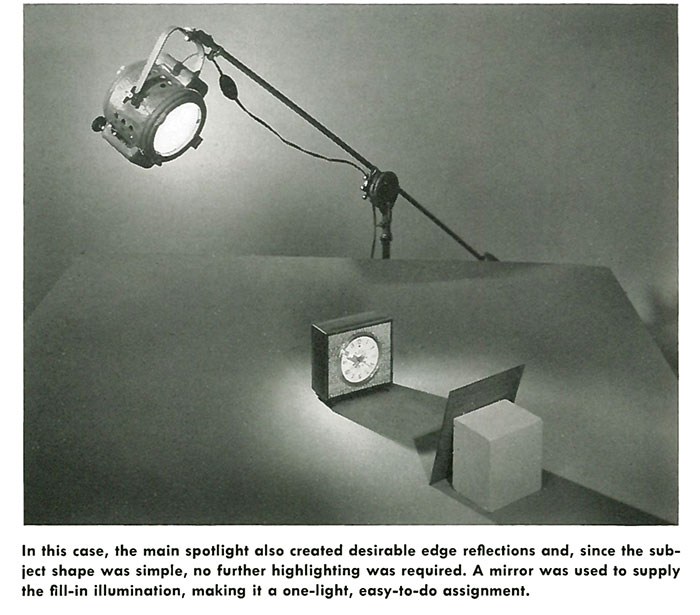
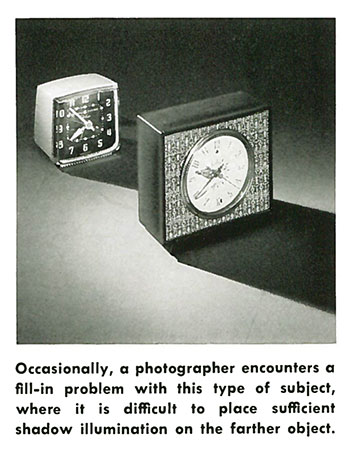
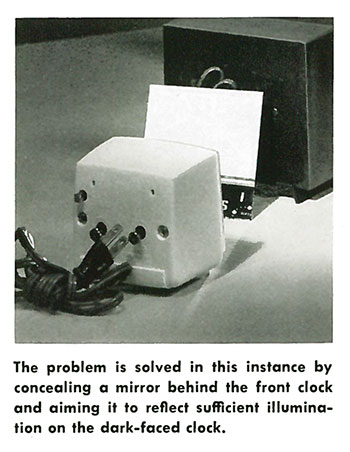
The illumination to provide adequate shadow detail can be supplied optionally by a diffuse flood lamp, a reflector, or a mirror. The single most important requirement of a light is that it should cast no identifiable shadow of its own. This problem is most prevalent with Hood lamps and is generally solved by using the fill lights at a low angle.
FOR SMALL OBJECTS
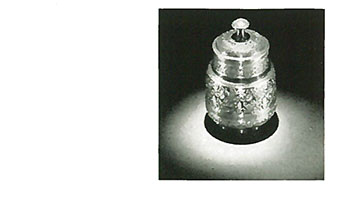
Perhaps one of the most over-looked lighting techniques in small-object photography is the use of mirrors. They have the principal advantage of being able to be positioned in places where it would be physically impossible to accomplish the same effect with large lighting units. Non-hardening modeling clay makes an ideal non-skid-positioning medium for the smaller mirrors. There is always the possibility of masking the mirrors with pieces of matte black paper and thus making the mirror into a reflector of any desired shape without actually cutting it. Bottom picture was illuminated with the help of two mirrors.