Product Description
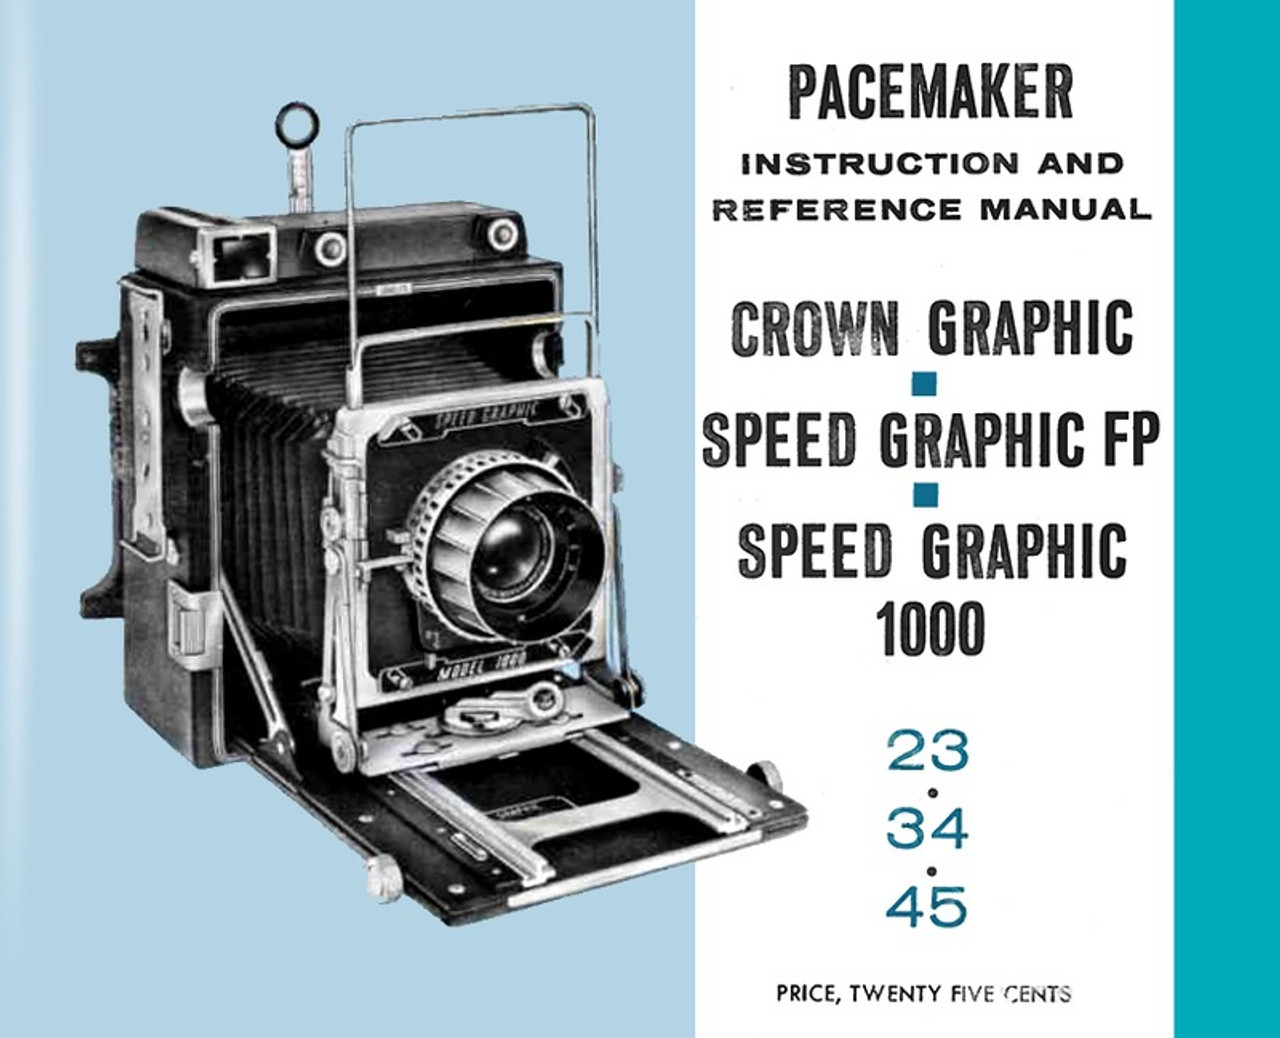
PACEMAKER CROWN GRAPHIC AND SPEED GRAPHIC CAMERAS / 3 Sizes - 2 Models
The instructions in this manual are applicable to all Pacemaker Graphic Cameras. Speed Graphic Model FP Cameras have a focal plane shutter while Crown Graphic and Speed Graphic Model 1000 Cameras do not. Although most illustrations are of the larger 45 size, the instructions are equally applicable to the smaller 23 and 34 Cameras. All directions, left and right, are from the operator’s position behind the camera.
Most instructions apply to the Graflok Back and the Graphic accessories accepted by them. For information concerning the use of the Back and the film accessories accepted by them see Page 50.
Every effort has been made to make your camera dependable, convenient and easy to use. The following pages will review basic operation and will explain the purpose and use of the many features built into the camera. For those who wish more detailed information on lighting, exposure and other areas of photography, a bibliography has been provided on Page 48.
CONTENTS
- Opening the Camera6
- Closing the Camera7
- Interchangeable Lenses8
- Infinity Stops9
- Lens Fitting Service9
- Shutter Data10-17
- Graphex 1000 Shutter10-11
- Graphex Shutters12
- Supermatic Shutters13
- Compur Shutters14-17
- Focal Plane Shutter19-21
- Rangefinder Focusing22-24
- Graphic Rangefinder2224
- Kalart Rangefinder22
- Scale Focusing25
- Ground Glass Focusing26
- Optical Viewfinder27
- Focusing Panel28
- Graflex Back50
- Graflex Film Holders50
- Front Standard Adjustment29-32
- Rising Front30
- Side Shifting Front31
- Tilting Front32
- Changing Lenses8
- Body Release18
- Light Beamfocusing24
- Drop Bed33
- Bellows Extension34
- Grafmatic Film Holder36
- Sheet Film Holders37
- Film Pack Adapter38
- Roll Film Holder39
- Polaroid Back40
- Dividing Back41
- Graflarger42
- Stroboflash44, 45
- Graflite Extension43
- Teleflash43
- Accessory Lenses47
- Photographic Books48
- Camera Care49
- Carrying Case41
FRONT STANDARD ADJUSTMENT
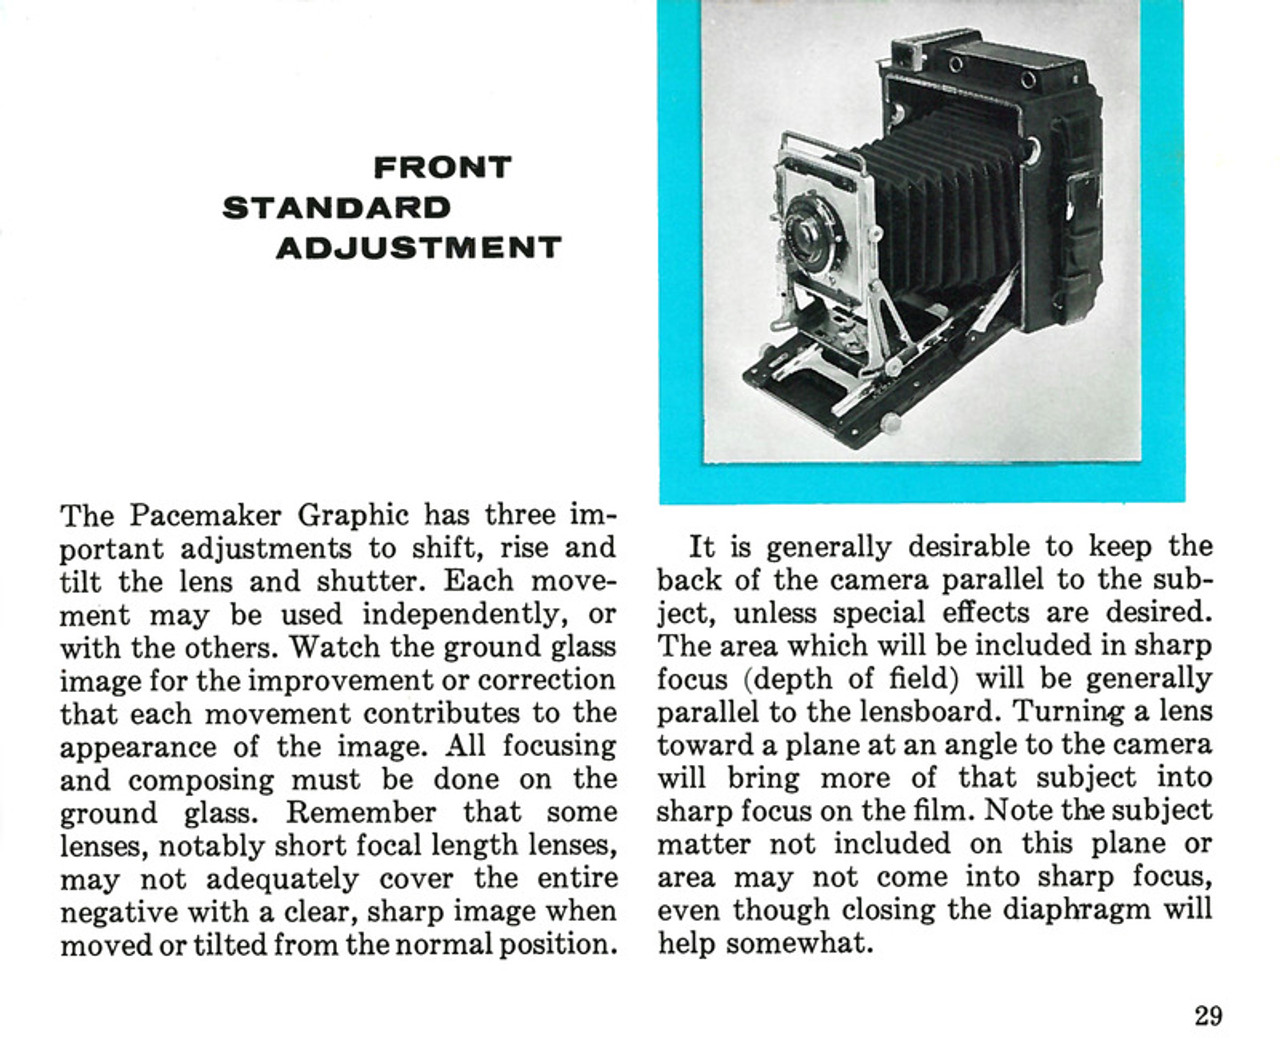
The Pacemaker Graphic has three important front standard adjustments to shift, rise and tilt the lens and shutter. Each movement may be used independently, or with the others. Watch the ground glass image for the improvement or correction that each movement contributes to the appearance of the image. All focusing and composing must be done on the ground glass. Remember that some lenses, notably short focal length lenses, may not adequately cover the entire negative with a clear, sharp image when moved or tilted from the normal position.
It is generally desirable to keep the back of the camera parallel to the subject, unless special effects are desired. The area which will be included in sharp focus (depth of field) will be generally parallel to the lensboard. Turning a lens toward a plane at an angle to the camera will bring more of that subject into sharp focus on the film. Note the subject matter not included on this plane or area may not come into sharp focus, even though closing the diaphragm will help somewhat. See Image 3, Camera Front Standard Adjustment above.
FOCUSING PANEL
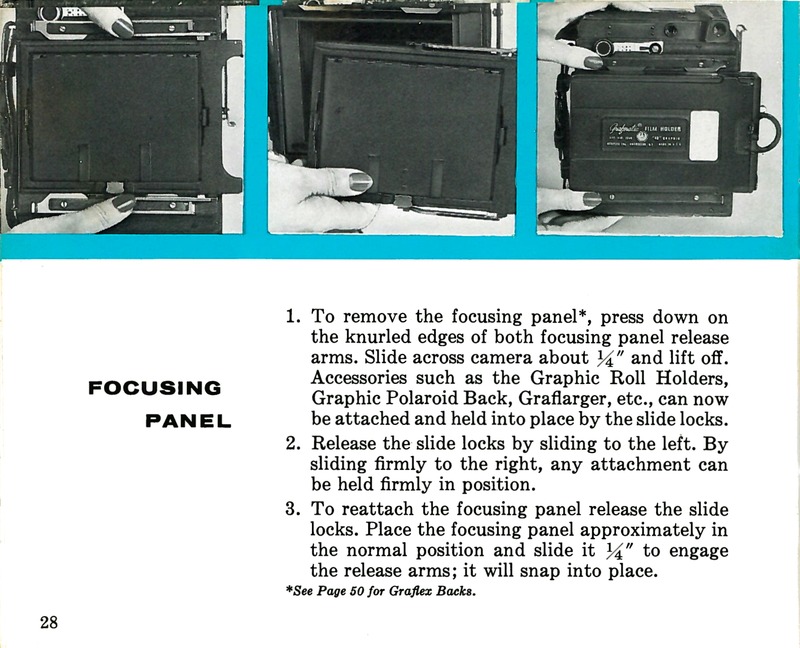
- To remove the focusing panel*, press down on the knurled edges of both focusing panel release arms. Slide across camera about ¼” and lift off. Accessories such as the Graphic Roll Holders, Graphic Polaroid Back, Graflarger, etc., can now be attached and held into place by the slide locks.
- Release the side locks by sliding to the left. By sliding firmly to the right, any attachment can be held firmly in position.
- To reattach the focusing panel release the slide locks. Place the focusing panel approximately in the normal position and slide it ¼” to engage the release arms; it will snap into place.
GRAFMATIC FILM HOLDER
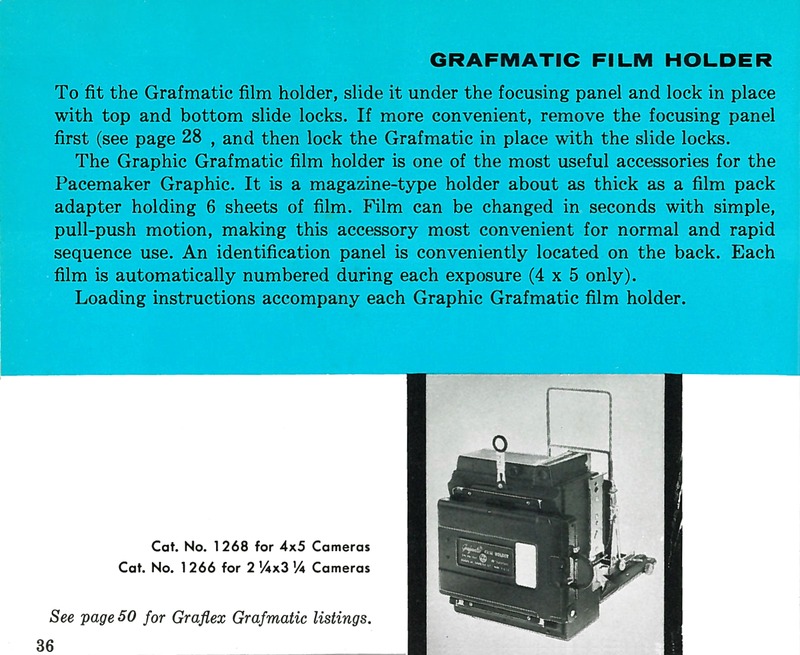
To fit the Grafmatic film holder, slide it under the focusing panel and lock in place with top and bottom slide locks. If more convenient, remove the focusing panel first (see page 28) , and then look the Grafmatic in place with the slide locks.
The Graphic Grafmatic film holder is one of the most useful accessories for the Pacemaker Graphic. It is a magazine-type holder about as thick as a film pack adapter holding 6 sheets of film. Film can be changed in seconds with simple, pull-push motion, making this accessory most convenient for normal and rapid sequence use. An identification panel is conveniently located on the back. Each film is automatically numbered during each exposure (4 x 5 only).
Loading instructions accompany each Graphic Grafmatic film holder.
See page 50 for Grafmatic listings.
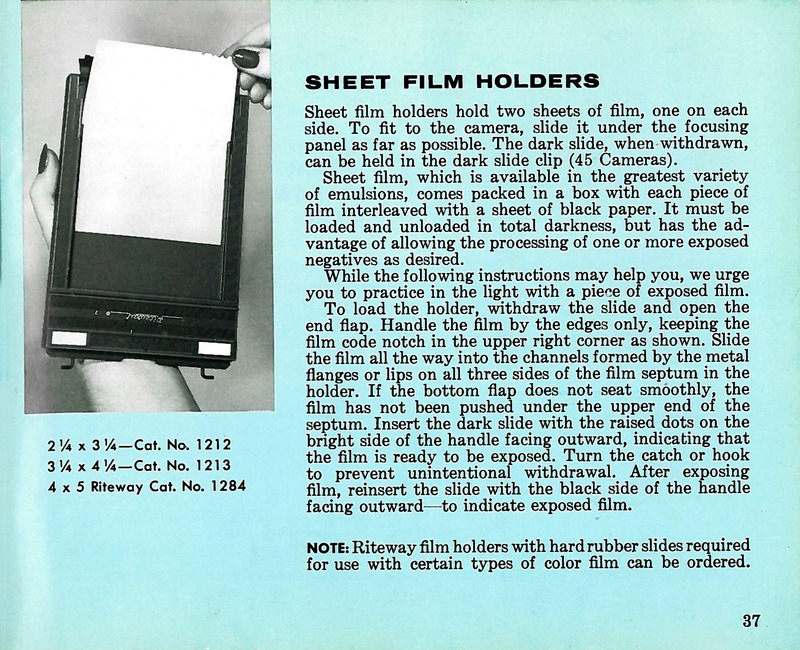
SHEET FILM HOLDERS
Sheet film holders hold two sheets of film, one on each side. To fit to the camera, slide it under the focusing panel as far as possible. The dark slide, when withdrawn, can be held in the dark slide clip (45 Cameras).
Sheet film, which is available in the greatest variety of emulsions, comes packed in a box with each piece of film interleaved with a sheet of black paper. It must be loaded and unloaded in total darkness, but has the advantage of allowing the processing of one or more exposed negatives as desired.
While the following instructions may help you, we urge you to practice in the light with a piece of exposed film.
To load the holder, withdraw the slide and open the end flap. Handle the film by the edges only, keeping the film code notch in the upper right corner as shown. Slide the film all the way into the channels formed by the metal flanges or on all three sides of the film septum in the holder. If the bottom flap does not seat smoothly, the film has not been pushed under the upper end of the septum. Insert the dark slide with the raised dots on the bright side of the handle facing outward, indicating that the film is ready to be exposed. Turn the catch or hook to prevent unintentional withdrawal. After exposing film, reinsert the slide with the back side of the handle facing outward-to indicate exposed film.
NOTE: Riteway film holders with hard rubber slides required for use with certain types of color film can be ordered.
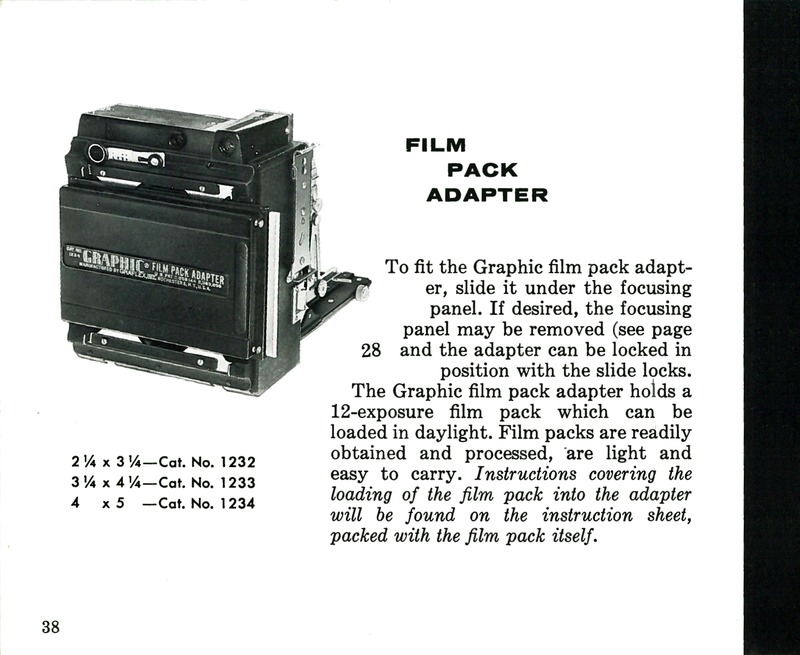
FILM PACK ADAPTER
To fit the Graphic film pack adapter, slide it under the focusing panel. If desired, the focusing panel may be removed (see page 28) and the adapter can be locked in position with the slide locks.
The Graphic film pack adapter holds a 12—exposure film pack which can be loaded in daylight. Film packs are readily obtained and processed, are light and easy to carry. Instructions covering the loading of the film pack into the adapter will be found on the instruction sheet, packed with the film pack itself.
GRAPHIC ROLL HOLDERS
To fit the Graphic Roll Holders, remove the focusing panel (see page 28) and lock the holder in position with the slide locks.
Graphic roll holders have automatic exposure counter, use economical 120 roll films and are equipped with dark slides, so that the holder can be removed at any time, even if unexposed film remains. The holders are available in two models (2¼ x 2¼ and 2¼ x 3¼) and three sizes to fit 23, 34, 45. Use either black and white or color films with these holders.
Optical viewfinder mask (see page 46) is supplied to define the smaller area included on roll film. For sports viewfinder frame on 4 x 5 camera only, order 9102 Mask.
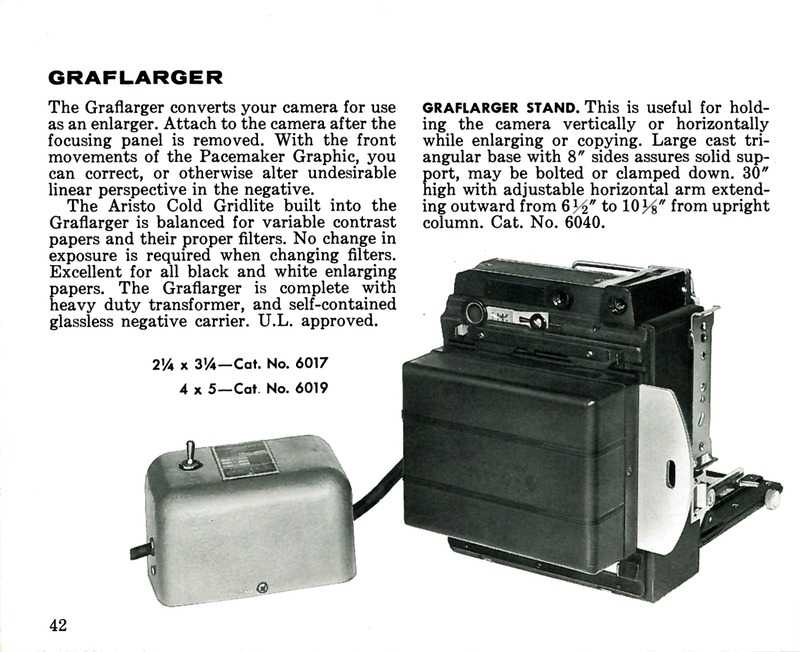
GRAFLARGER
The Graflarger converts your camera for use as an enlarger. Attach to the camera after the focusing panel is removed. With the front movements of the Pacemaker Graphic, you can correct, or otherwise alter undesirable linear perspective in the negative.
The Aristo Cold Gridlite built into the Graflarger is balanced for variable contrast papers and their proper filters. No change in exposure is required when changing filters. Excellent for all black and white enlarging papers. The Graflarger is complete with heavy duty transformer, and self-contained glassless negative carrier. UL. approved.
GRAFLARGER STAND. This is useful for holding the camera vertically or horizontally while enlarging or copying. Large cast triangular base with sides assures solid support, may be bolted or clamped down. 30” high with adjustable horizontal arm extending outward from 6½” to 10⅛” from upright column. Cat. No. 6040.
